Calendar in Office 365 (Web App)
Office 365 Calendar sharing is a great method to share with who you want and how you want! Follow these steps to learn how to use these methods for basic calendar sharing only. Note if it is a required company wide calendar, we do not have a how to for that calendar.
How to stop sharing a calendar
- First, sign in to Office 365.
- Next, select the app launcher icon
 .
. 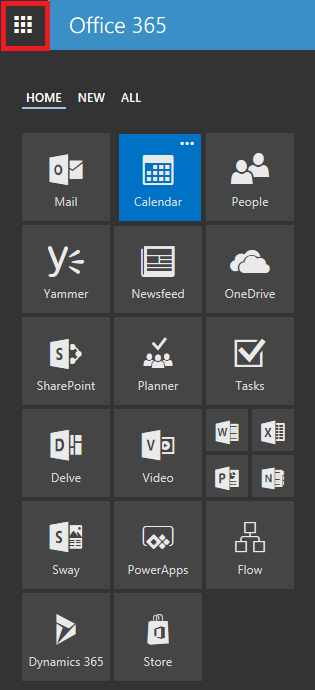
- Then, click on Calendar.

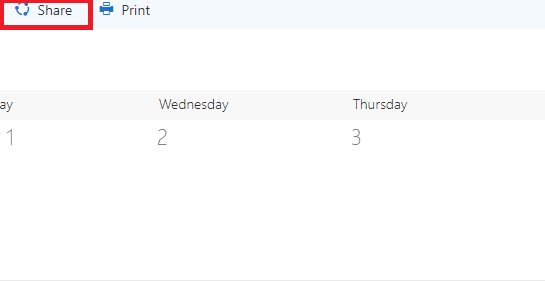
- Click Share.

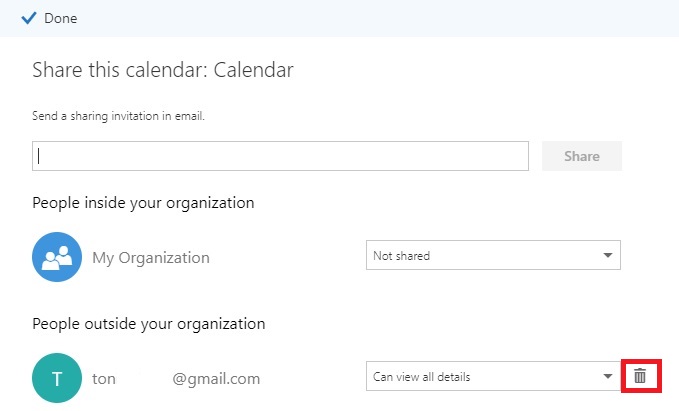
- A new pop up box will appear with the people you have already shared your calendar.

- After, click the Trash bin next to the name in which you would like to remove.
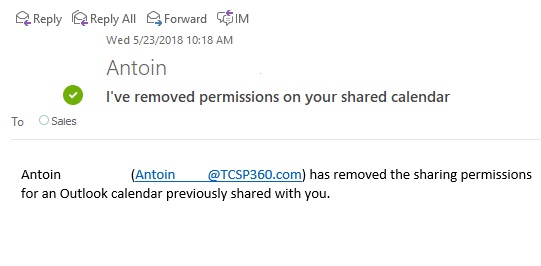
- Last, the recipient will receive an email that you have removed sharing permissions on your calendar.
Share calendar (outside organization)
- First, Sign in to Office 365.
- Then, select the app launcher icon .
- Choose Calendar.
- Next, click Share and a new message box pop up will appear.
- After, enter email of the recipient(s) with whom you would like to share your calendar in the space provided.

- Then, click the drop down arrow and choose how they can view the calendar being shared.
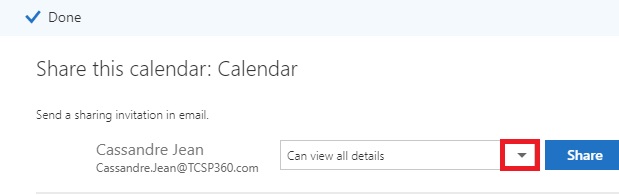
- Next, click share.

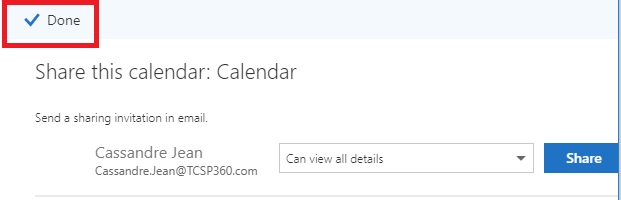
- When finish, click done in the top left corner of the pop out box .
8. Last, the recipient will receive an email with an option to view and open the calendar you shared.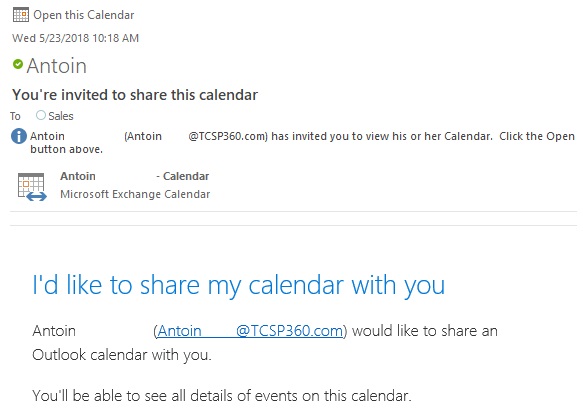
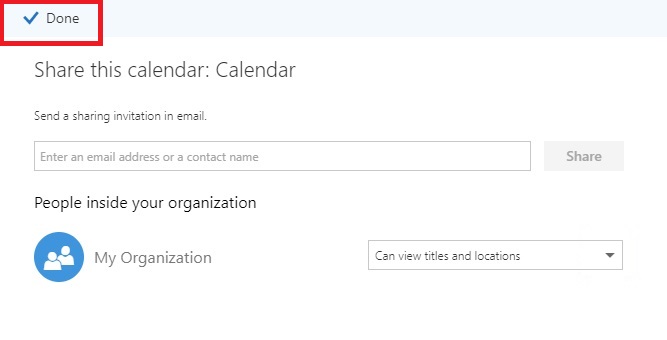
Share calendar (within organization)
- First, sign in to Office 365.
- Then, select the app launcher icon .
- Choose Calendar.
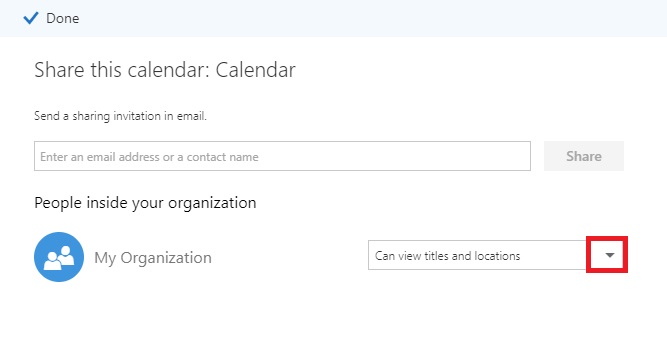
- After, click Share and a new message box pop up will appear on your screen.
- Next, click the drop down arrow and select how they can view the calendar being shared.
- After, click done in the top left corner of the pop out box.
- Last, the recipient will receive an email with an option to open and view the calendar you shared.
Category: Microsoft 365 Tags: how-to